Documentation
-
Introduction
-
Getting Started With Mastery LMS
-
Setting Up The Class
-
Mastery Settings
-
Revenue Sharing
-
Teacher Usage Guide
-
Student Usage Guide
-
Mastery Mobile Application
-
FAQ
Website settings
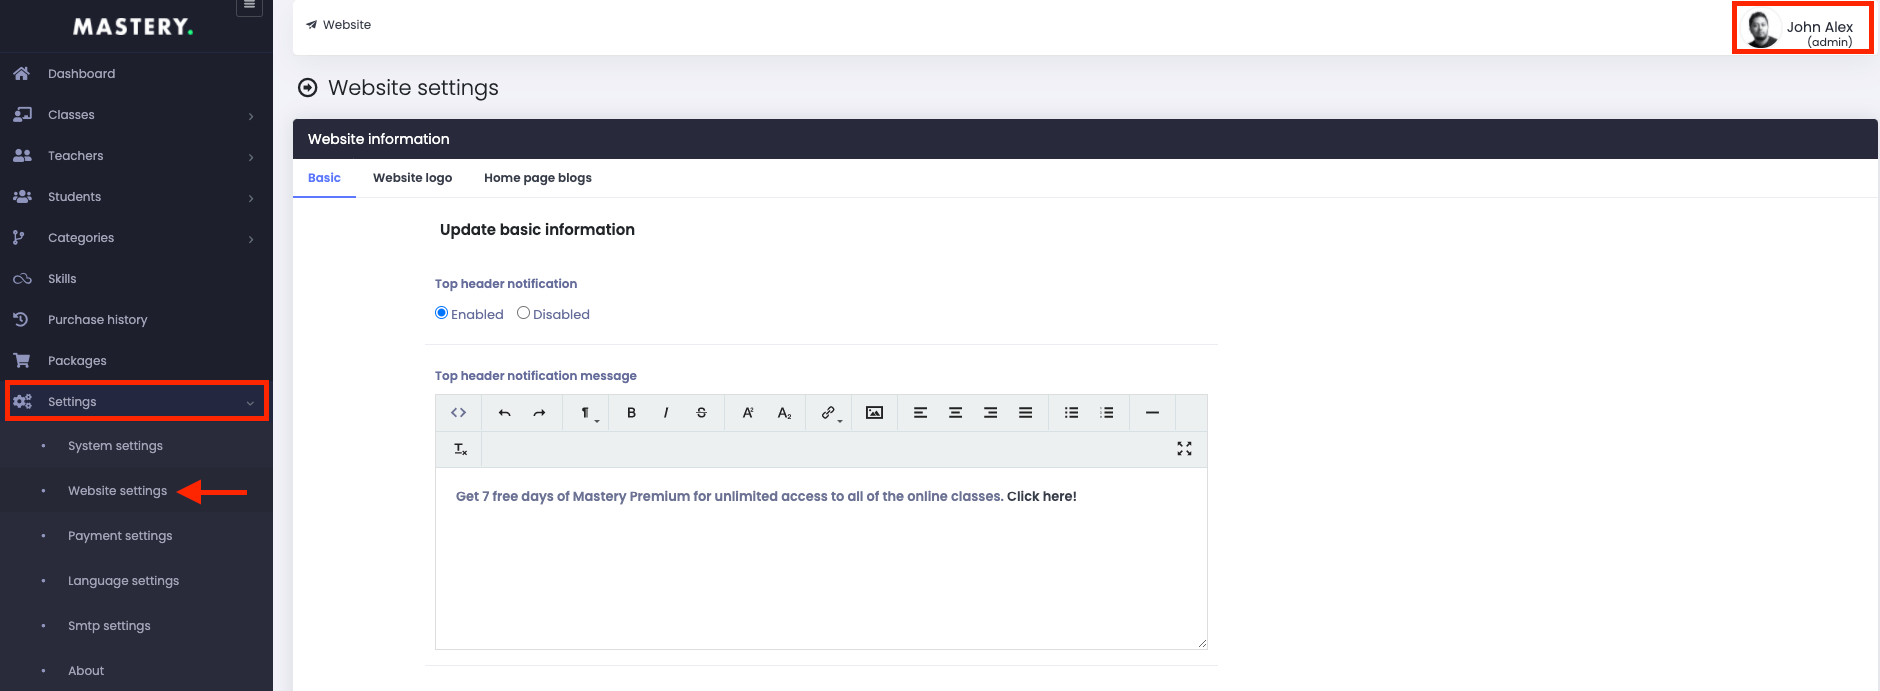
The admin can configure the website settings in Mastery. In this settings panel, the admin can change or update every detail about the website. As an admin, you have to navigate:
- Login to the admin panel
- Select the "Settings" option from the left menu.
- Choose the "Website settings" option from the sub-menu.

Figure 1. Mastery LMS Website Settings
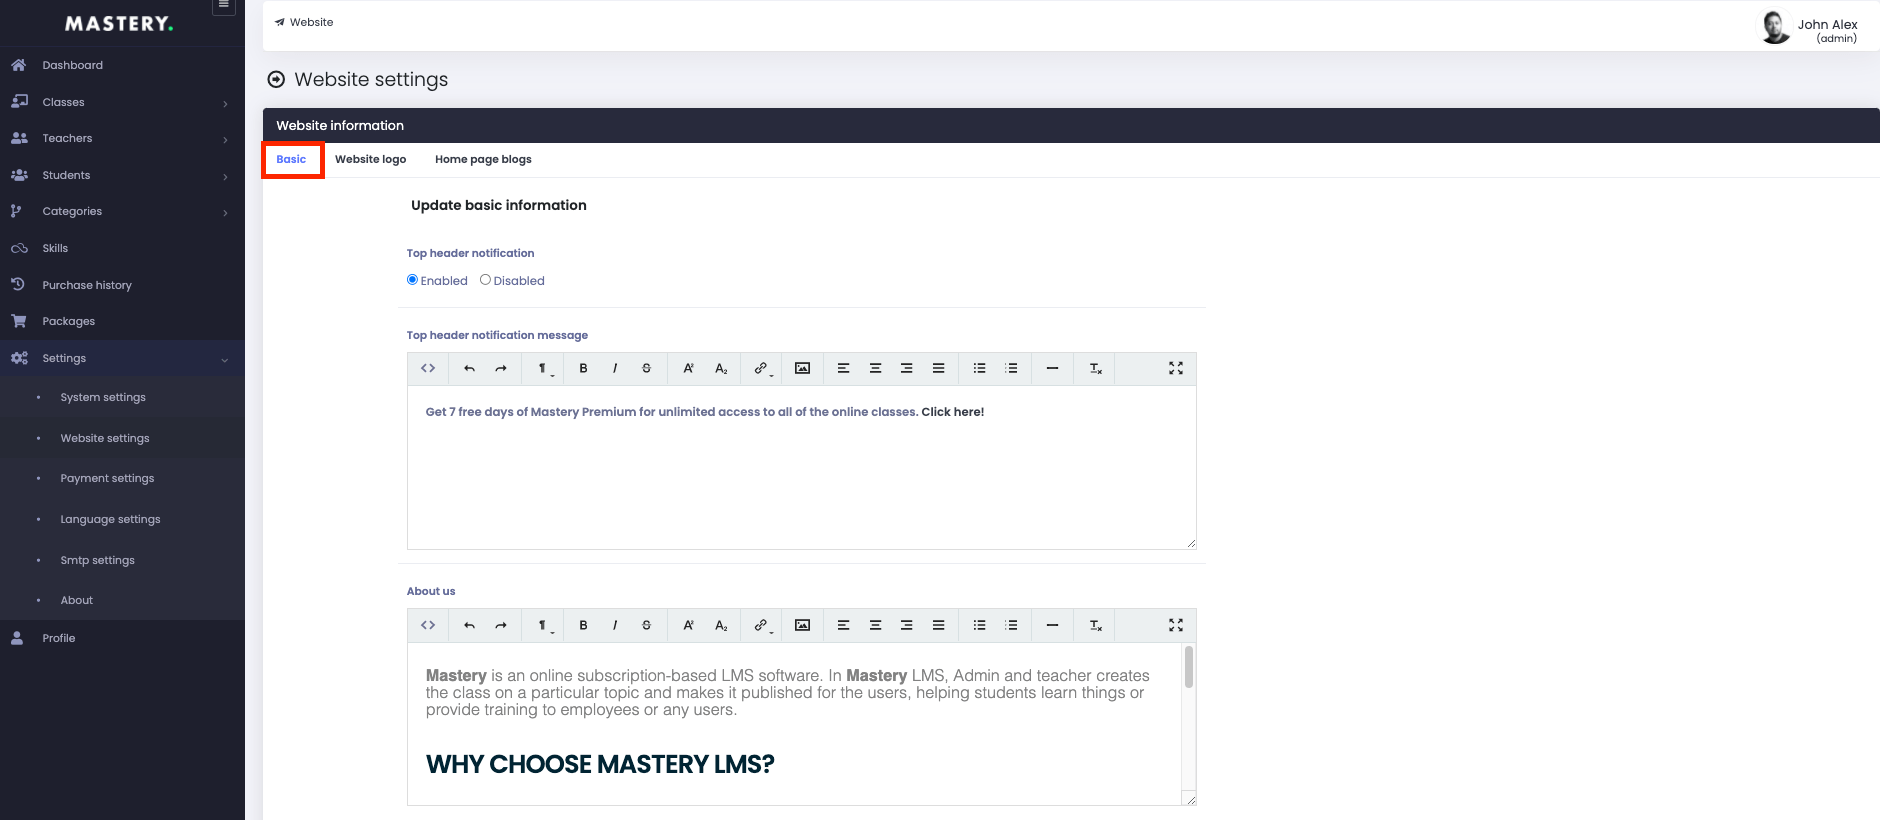
In this settings panel, you have to configure three different panels. They are:
- Basic settings
- Logo settings
- Home page blogs settings
Basic settings:
In this panel, you have to update or provide some basic information about your application. You can:
- Change the top header notification.
- Update top header notification message.
- Tell everyone about your application.
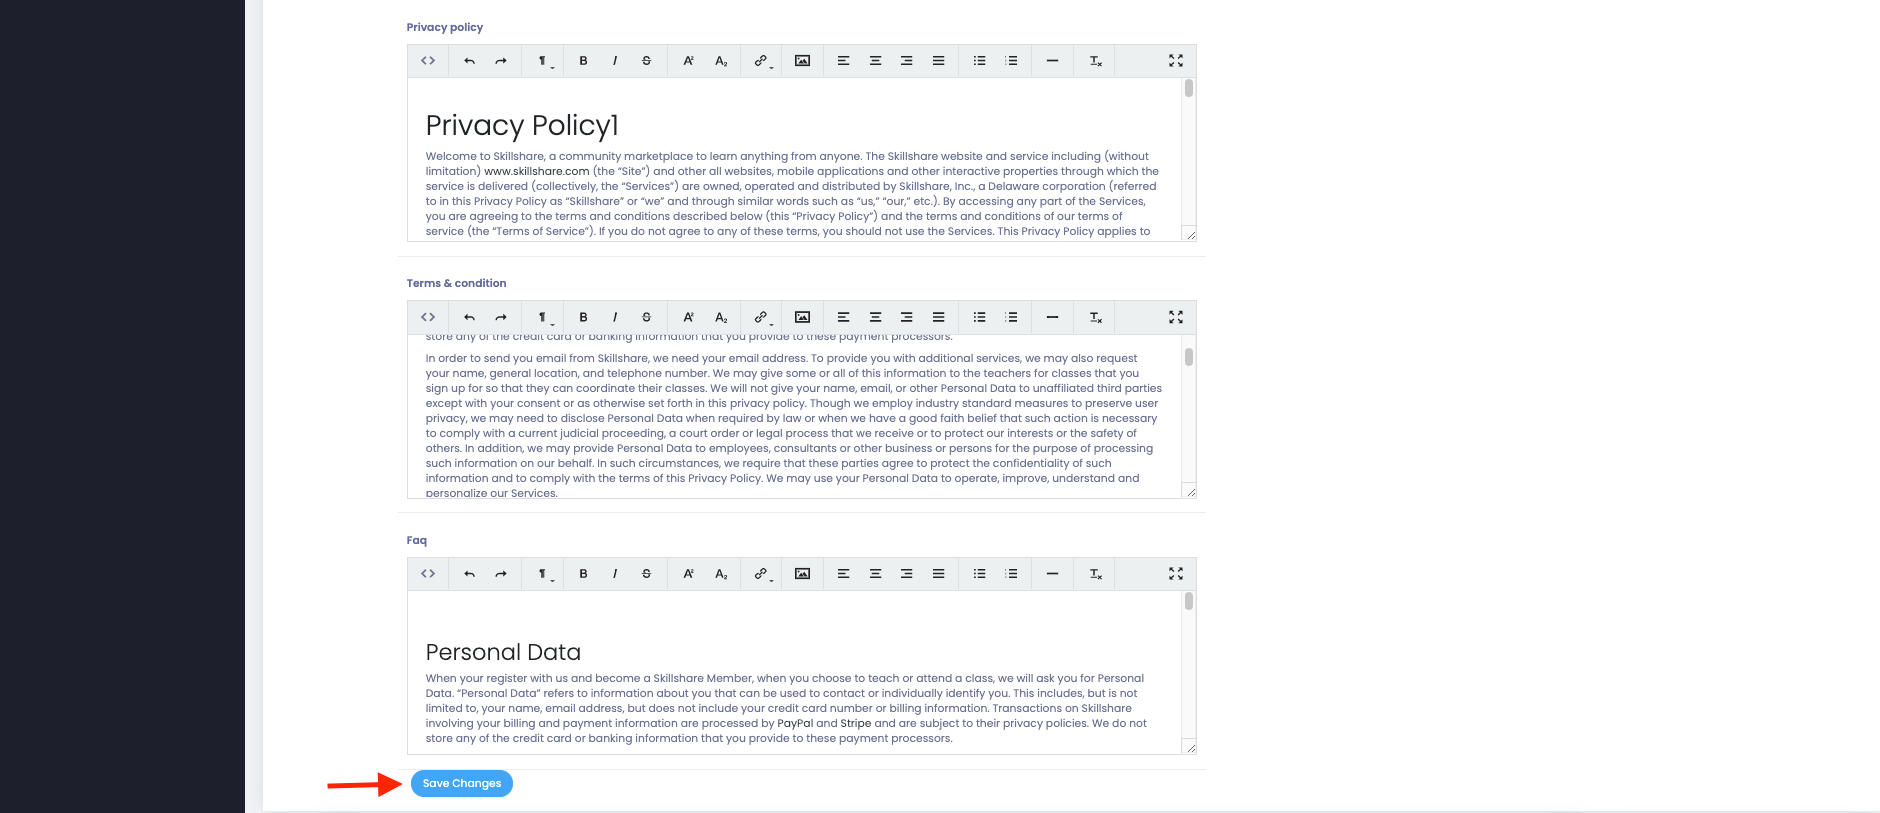
- Update privacy policy.
- Update terms and conditions.
- Modify FAQ
After providing the information, you have to select the "Save change" option.


Figure 2. Mastery LMS Updating Basic Settings
Logo settings:
In this settings panel, you can change and update the website logo. You can choose:
- Light logo
- dark logo
- Favicon
Then select the "Update logo" button to save the change.

Figure 4. Mastery LMS Updating Logo Settings
Home page blogs settings:
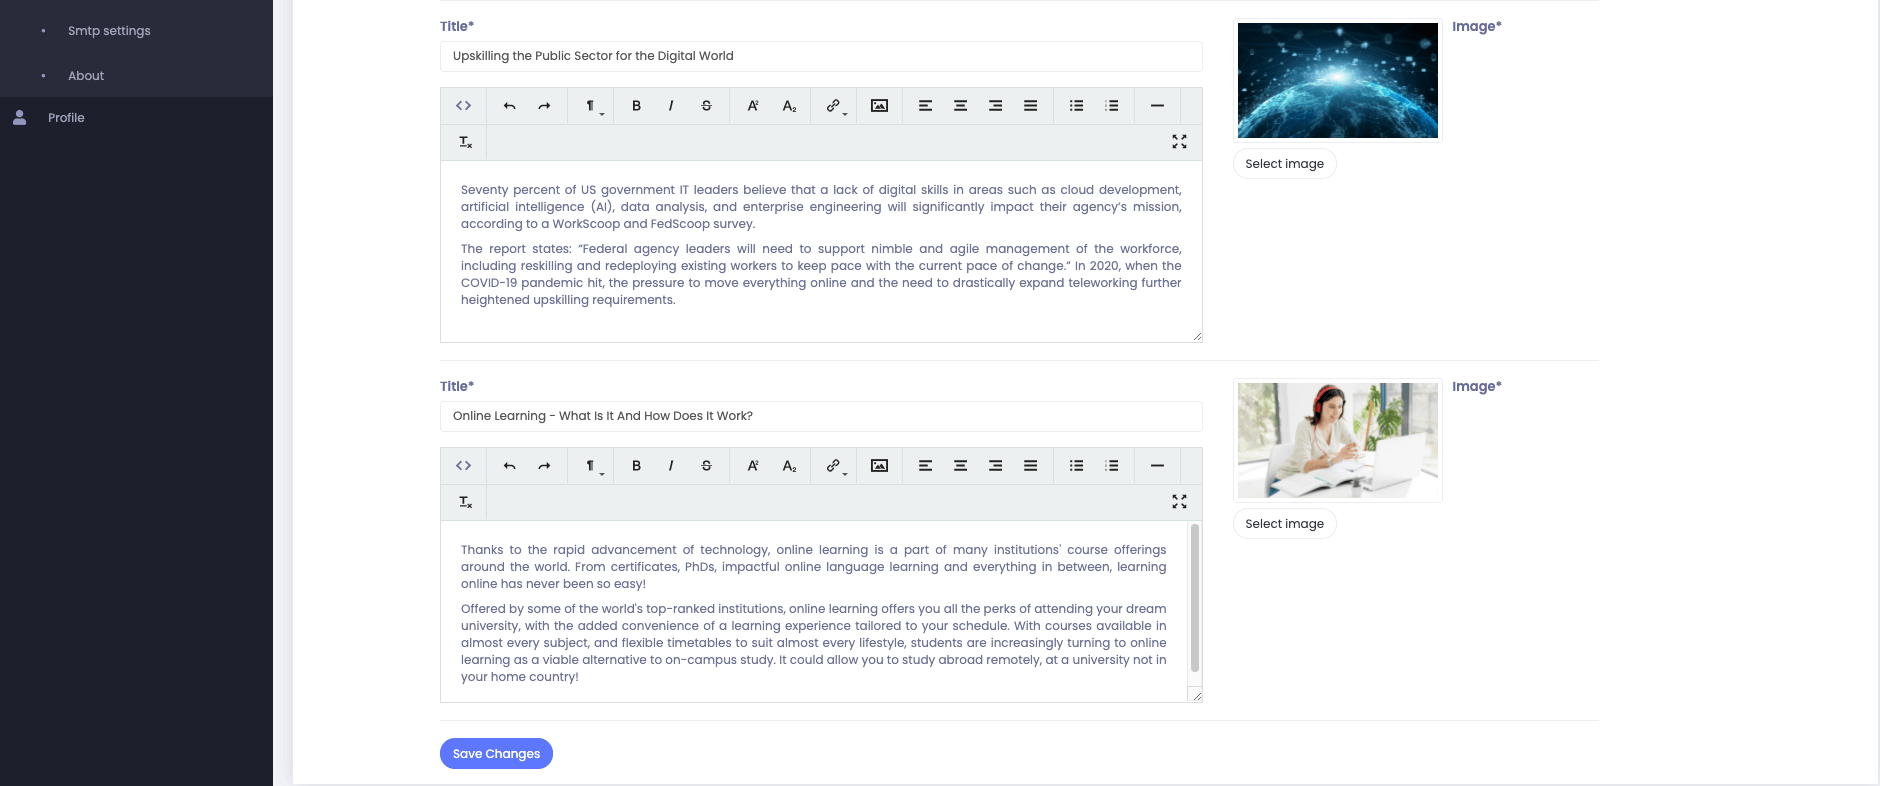
In this panel, you can change or update the website blogs for your website.
Now, you have to select:
- Title
- Description
- Image (You can choose the image from your device)
After completing the blog, you have to choose the "Save change" button.


Figure 5. Mastery LMS Updating Home Page Blogs Settings
Was this article helpful to you?
Contact us and we will get back to you as soon as possible

