How to install Checkout
This doc will help you install and set up Checkout easily on your server.
Now follow the steps to complete the installation process:
- Upload the application zip file to your server
- You can upload the file anywhere inside of your public_html or any sub-folder
- Unzip the file
- Run the installation by accessing through the web browser
- For example, https://yourdomain.com. Or it's under subfolder, https://yourdomain.com/checkout.
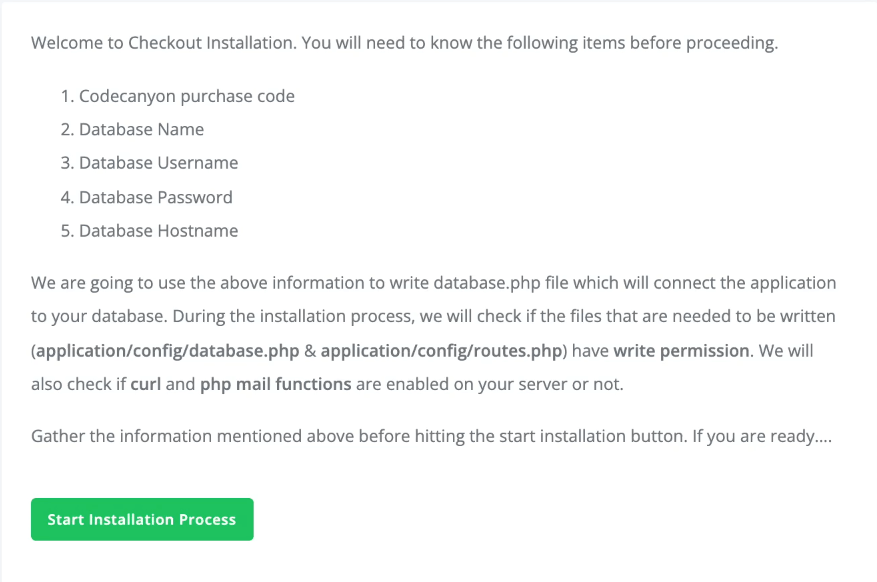
- Entered the URL on your browser, and you will see the screen below.

Figure 1. Checkout Starting Installation Process
You have completed the first step of your installation. To complete the following process, you need to have:
- Codecayon parches code
- Database name
- Database user name
- Database password
- Database host
Navigate to the purchase information on codecanyon to get the purchase code. You have to create a new database on your server to get the information. You have to ensure that the files in /application/config/database.php and /application/config/routes.php have the write permission. Also, make sure that PHP curl is enabled on your server.
- Press the "Start Installation Process" button to continue the installation process.

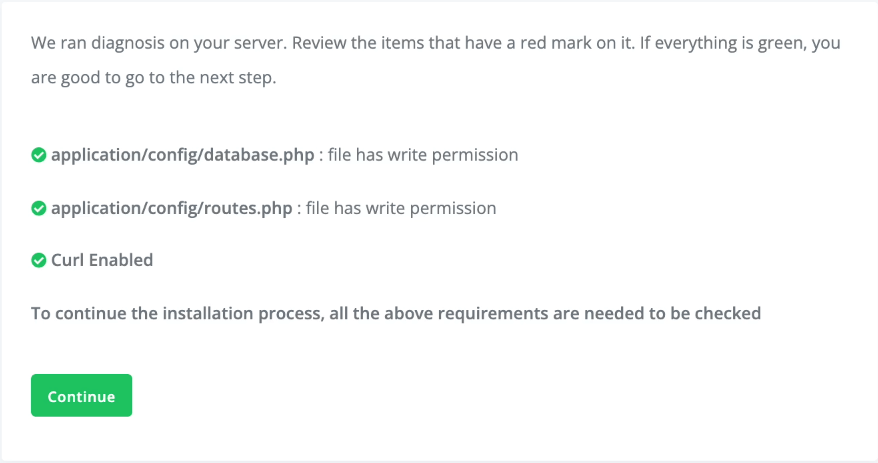
Figure 2. Checkout Continue Installation Process
- Now, it will check the required files have the write permission and curl is enabled or not. If these are not enabled, you may face problems in the installation process. Ensure that all the three points on that screen have a green checkmark.
- Click the "Continue" button if all required files and permissions are ok.
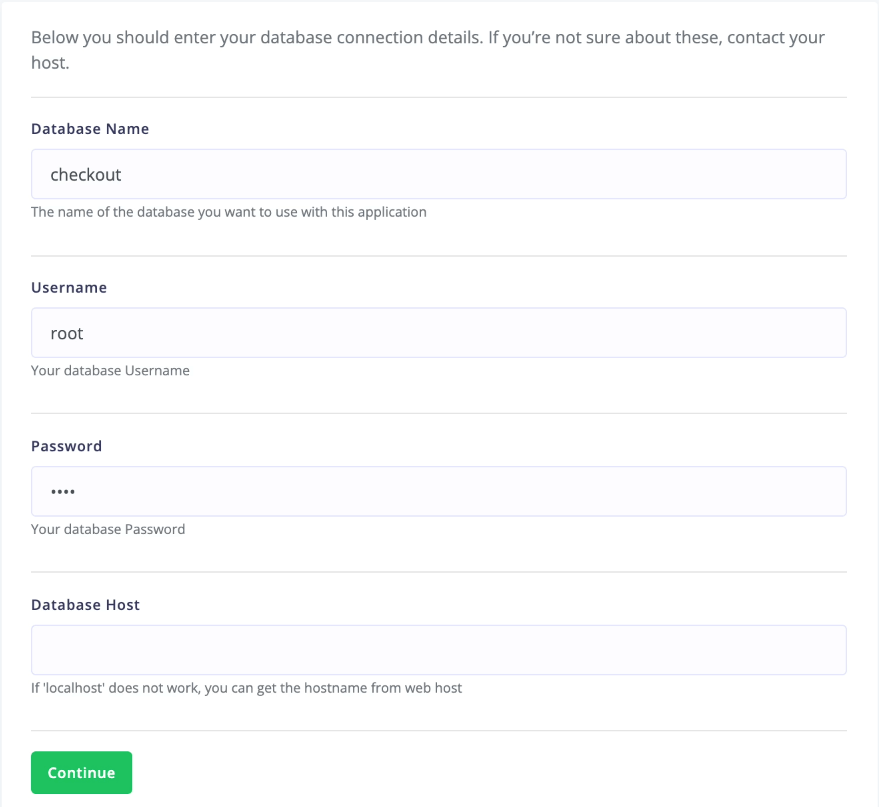
- After that, provide the database connection details from your server.

Figure 3. Checkout Providing Database Connection Details
- Click the "Continue" button.
- Now select the "Install" button.
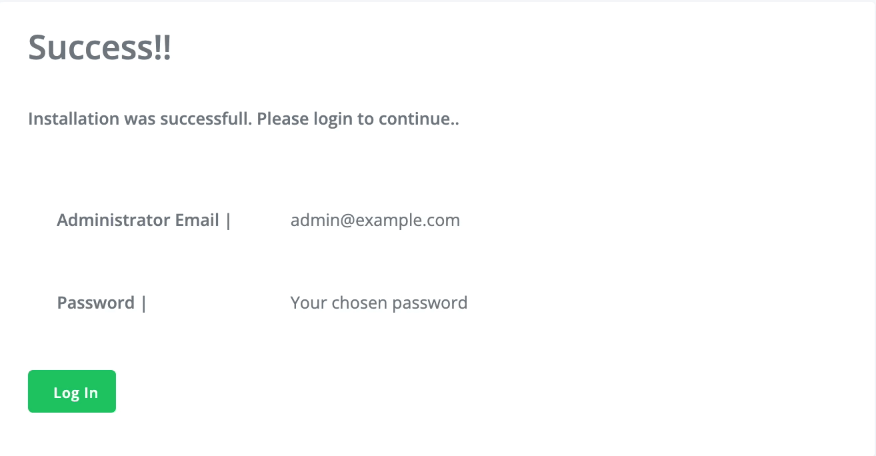
Congratulation. Checkout is successfully installed on your server. Now provide:
- Administrator Email
- Password
After providing the data, select the "Log in" button to complete the installation process.

Figure 4. Checkout Log In to the Server
Now you are ready to use Checkout.
Was this article helpful to you?
Contact us and we will get back to you as soon as possible

