How to Manage Users (Admin, Client, and Staff)
In Insight CRM Laravel, the user considers solutions to accelerate customer management and enhance sales efficiency. It helps businesses build strong relationships, automate workflows, and gain valuable insights for better decision-making and growth.
- Log in to the Admin and access the Dashboard from the Admin Panel.
- Navigate to Users from the left menu.
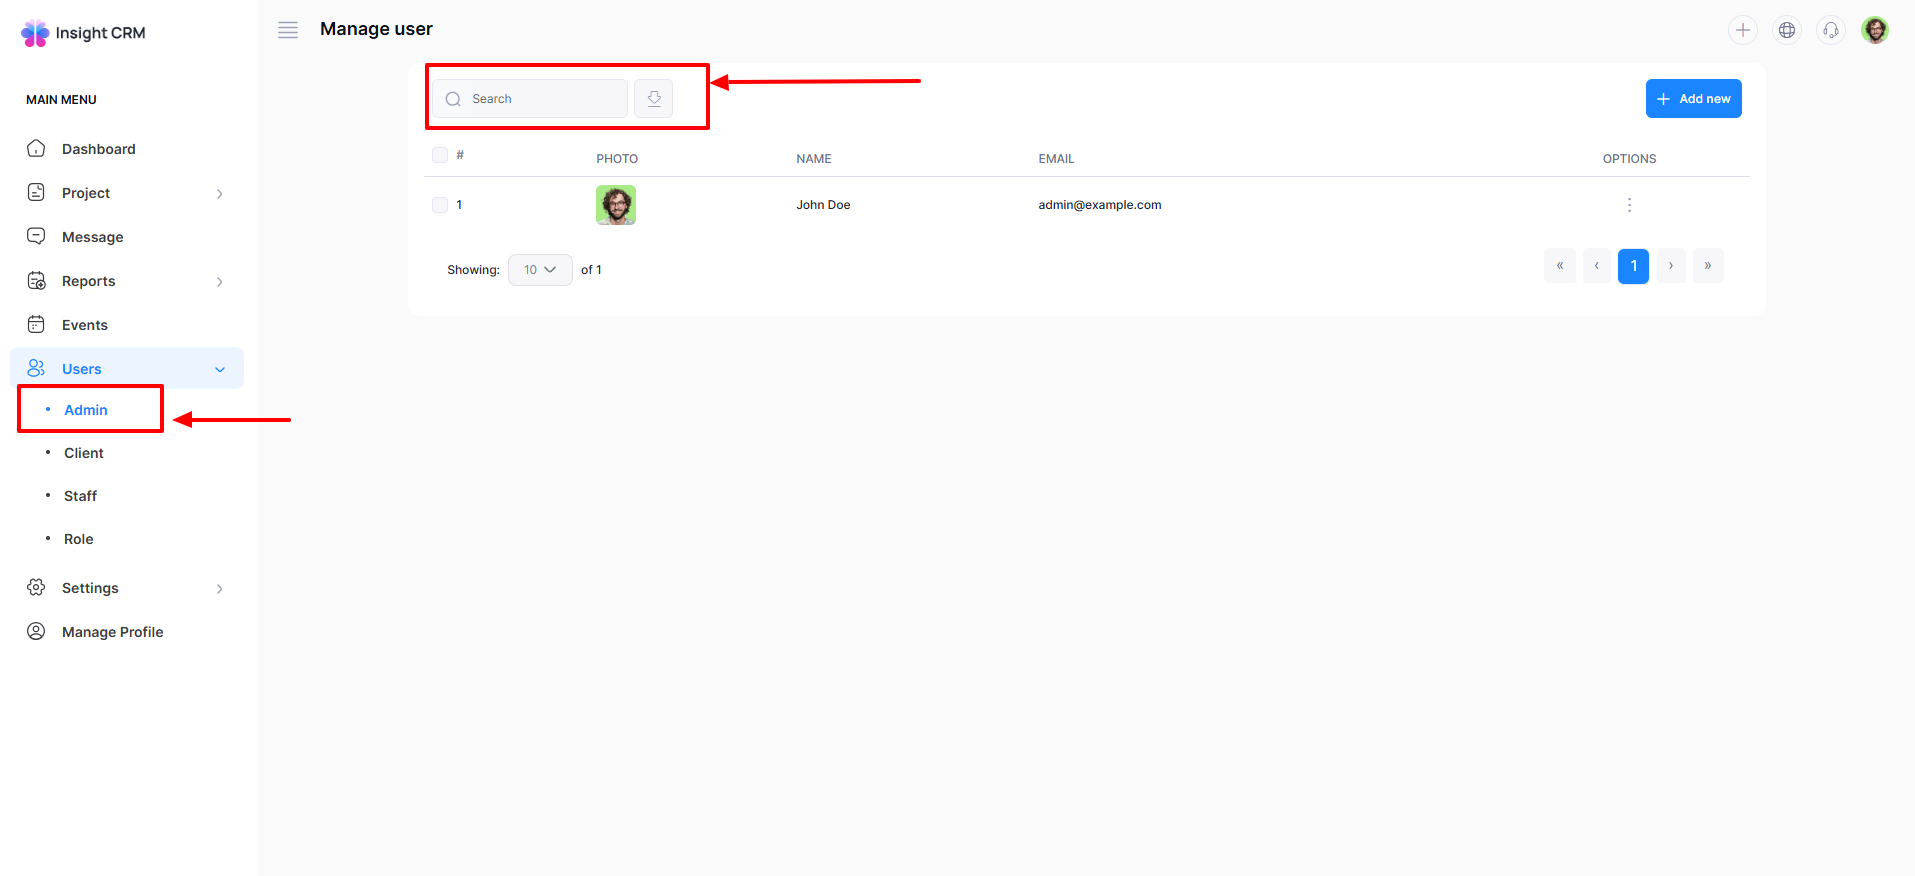
- Finally, click on Admin from the left menu a window will appear.
- Use the Search option, and enter the Name desired user that will appear.
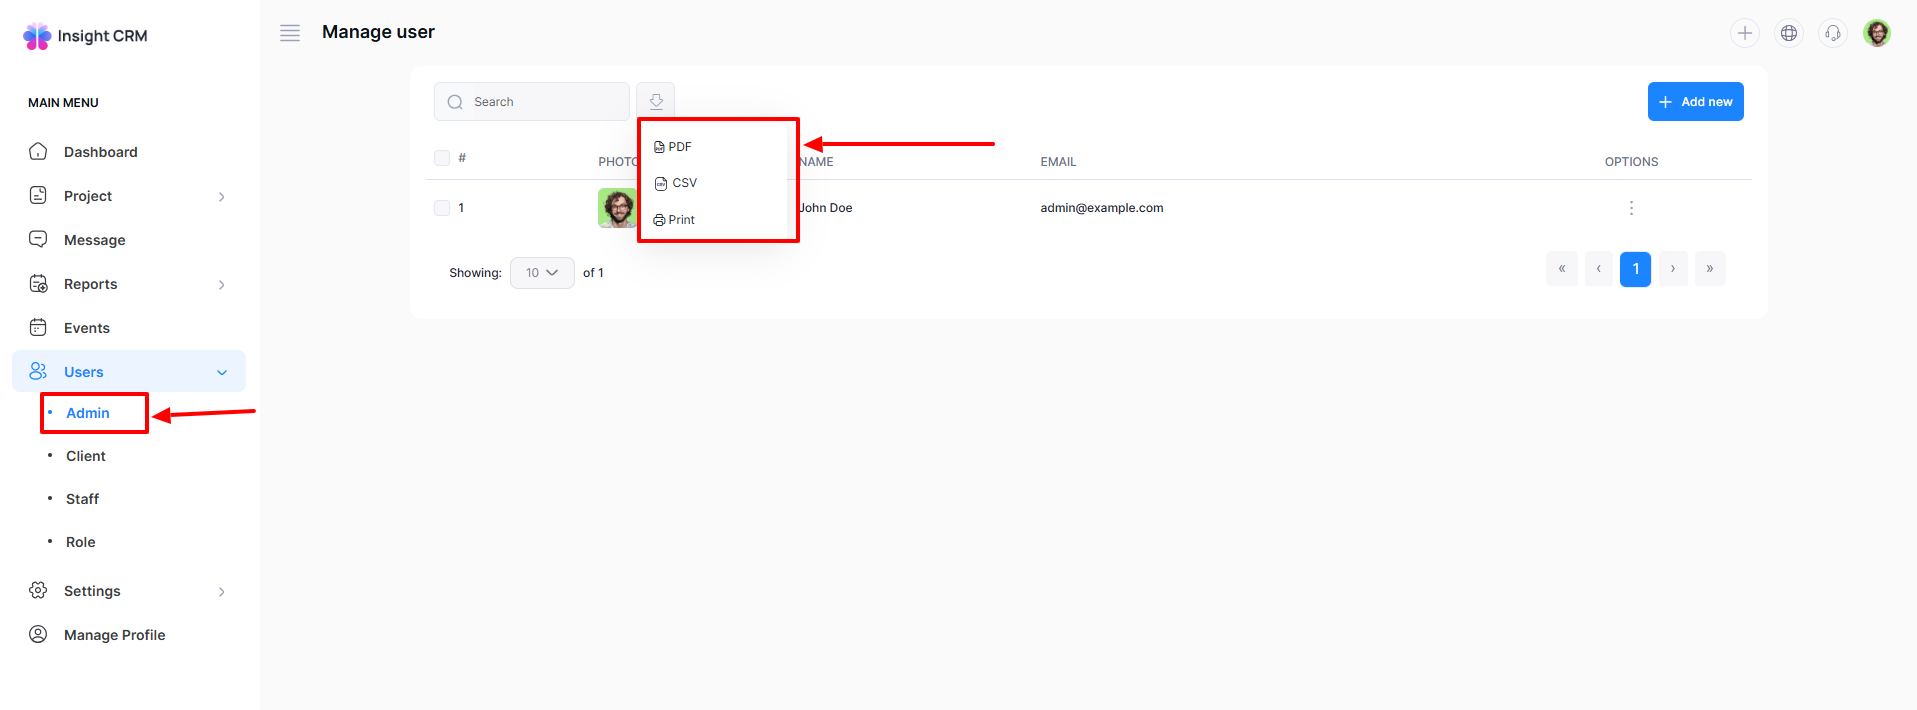
- Click the Export button a new window will open with PDF, CSV, and Print.
-
- If you click the PDF button automatically downloads the document.
- If you click the CSV button automatically downloads the document.
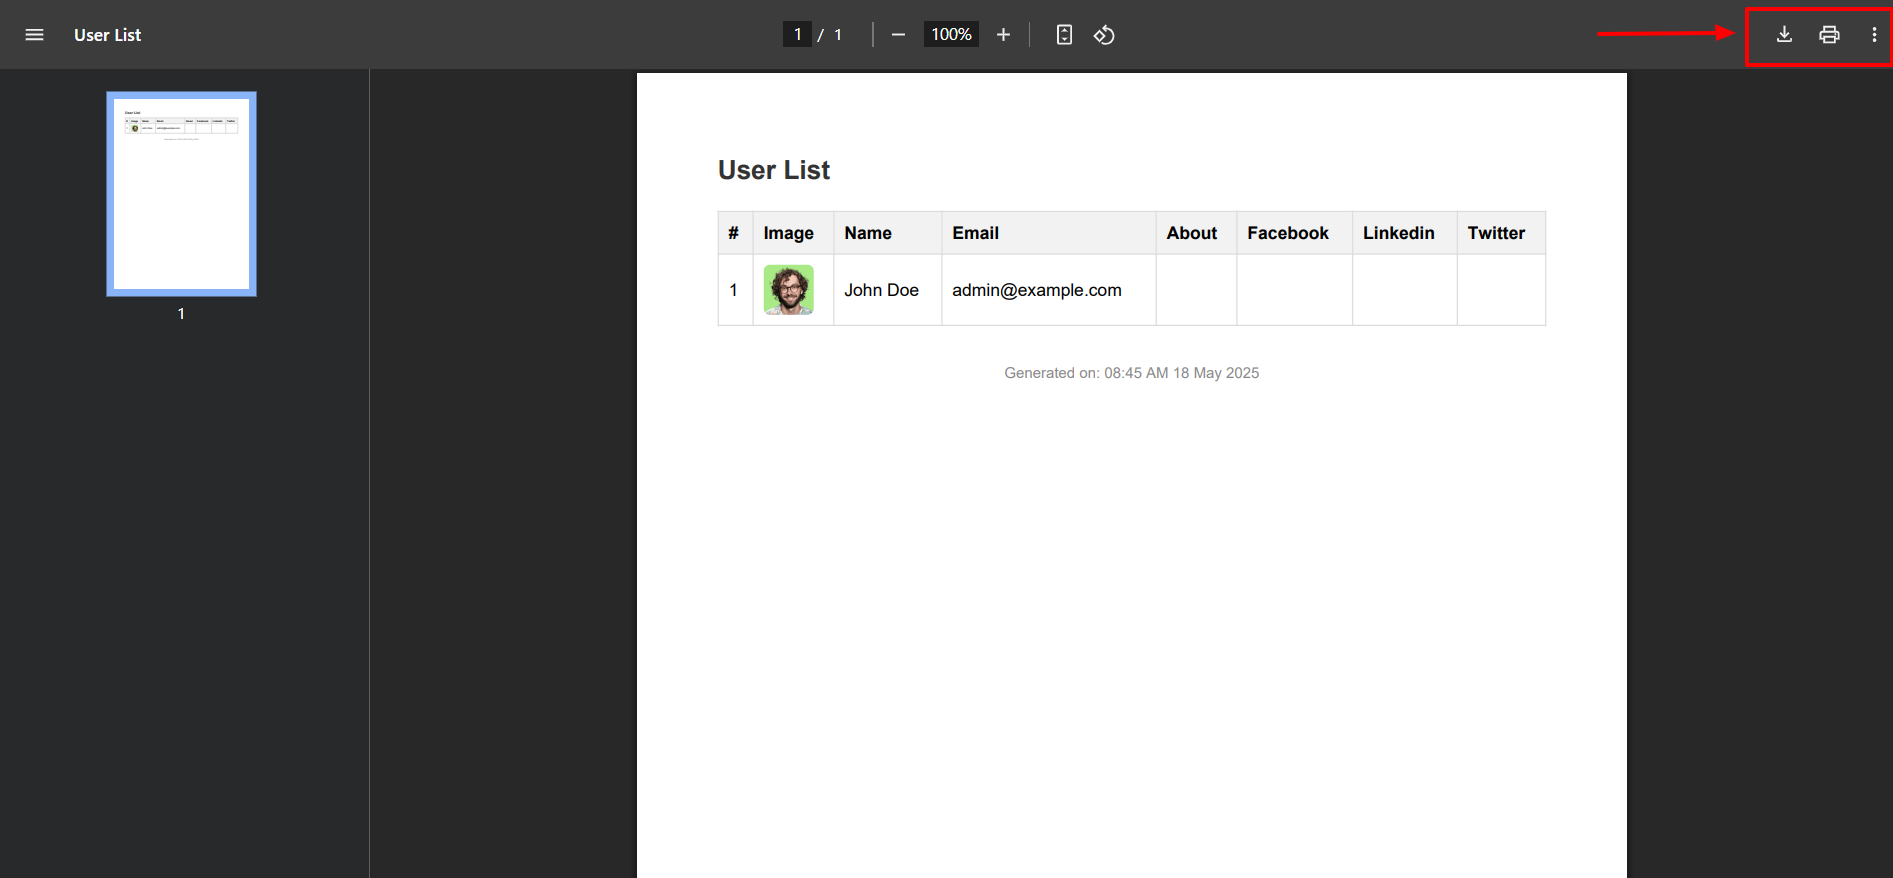
- If you click the Print button, you will get a print menu.
-
- Click the Print button selected document will be printed out.
How to Add Admin
- Log in to the Admin and access the Dashboard from the Admin Panel.
- Navigate to Users from the left menu.
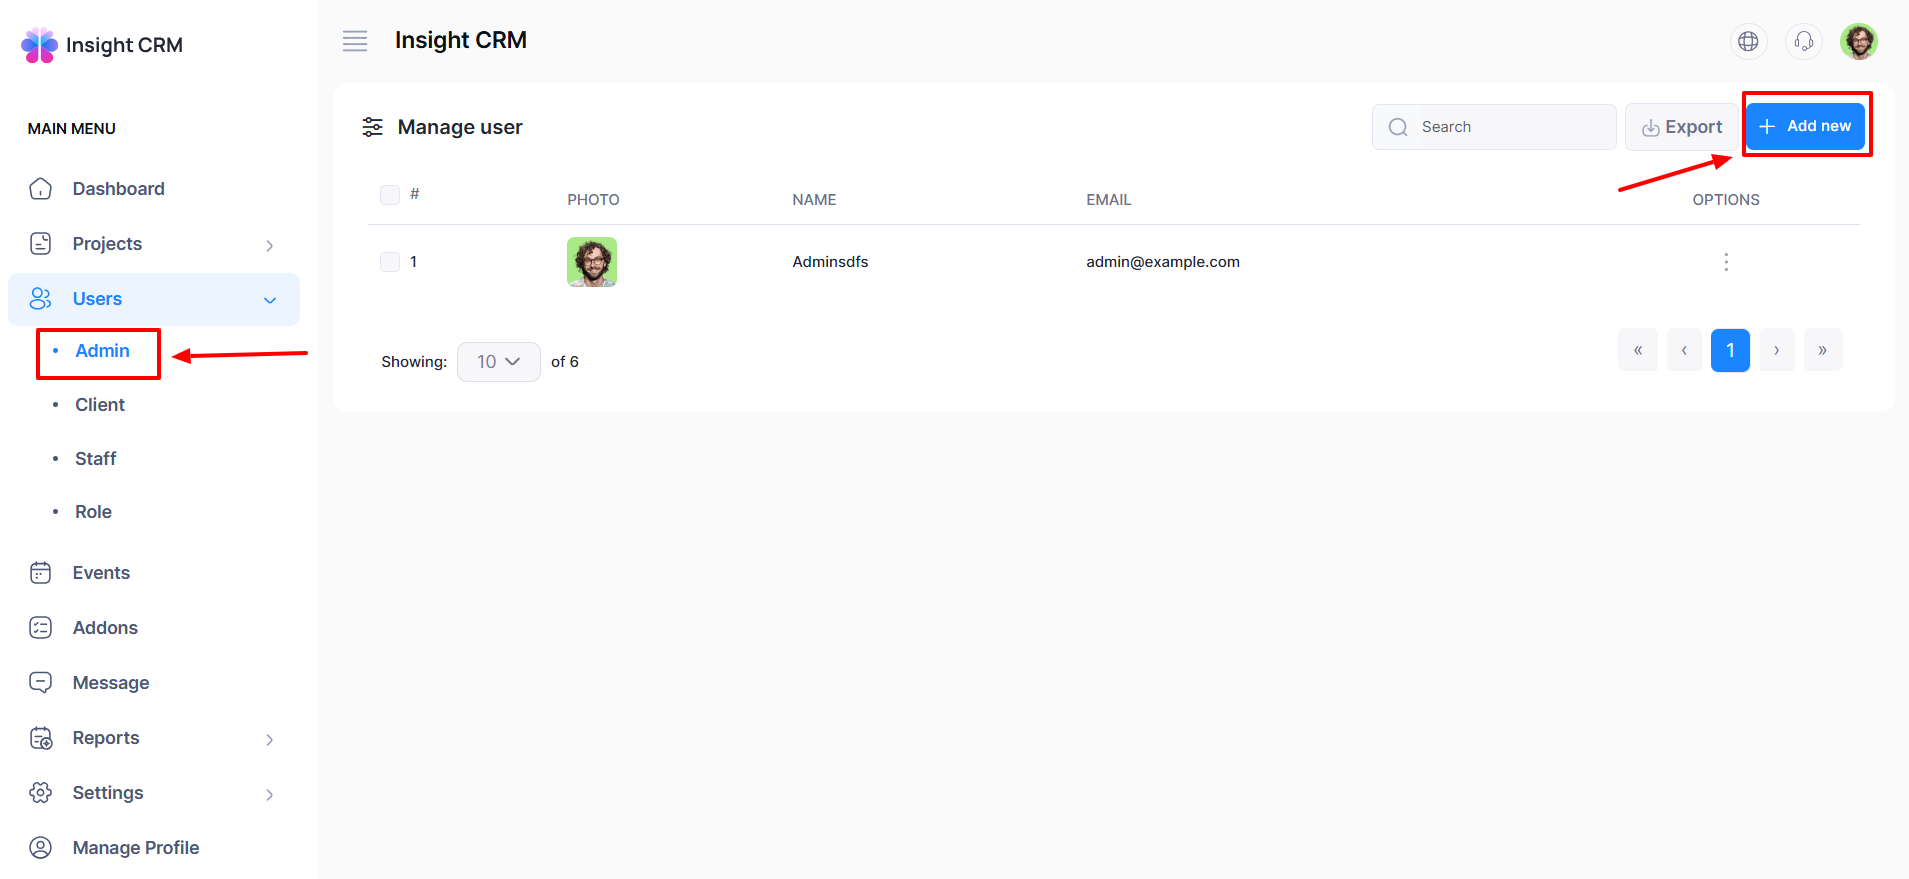
- Finally, click on Admin from the left menu a window will appear.
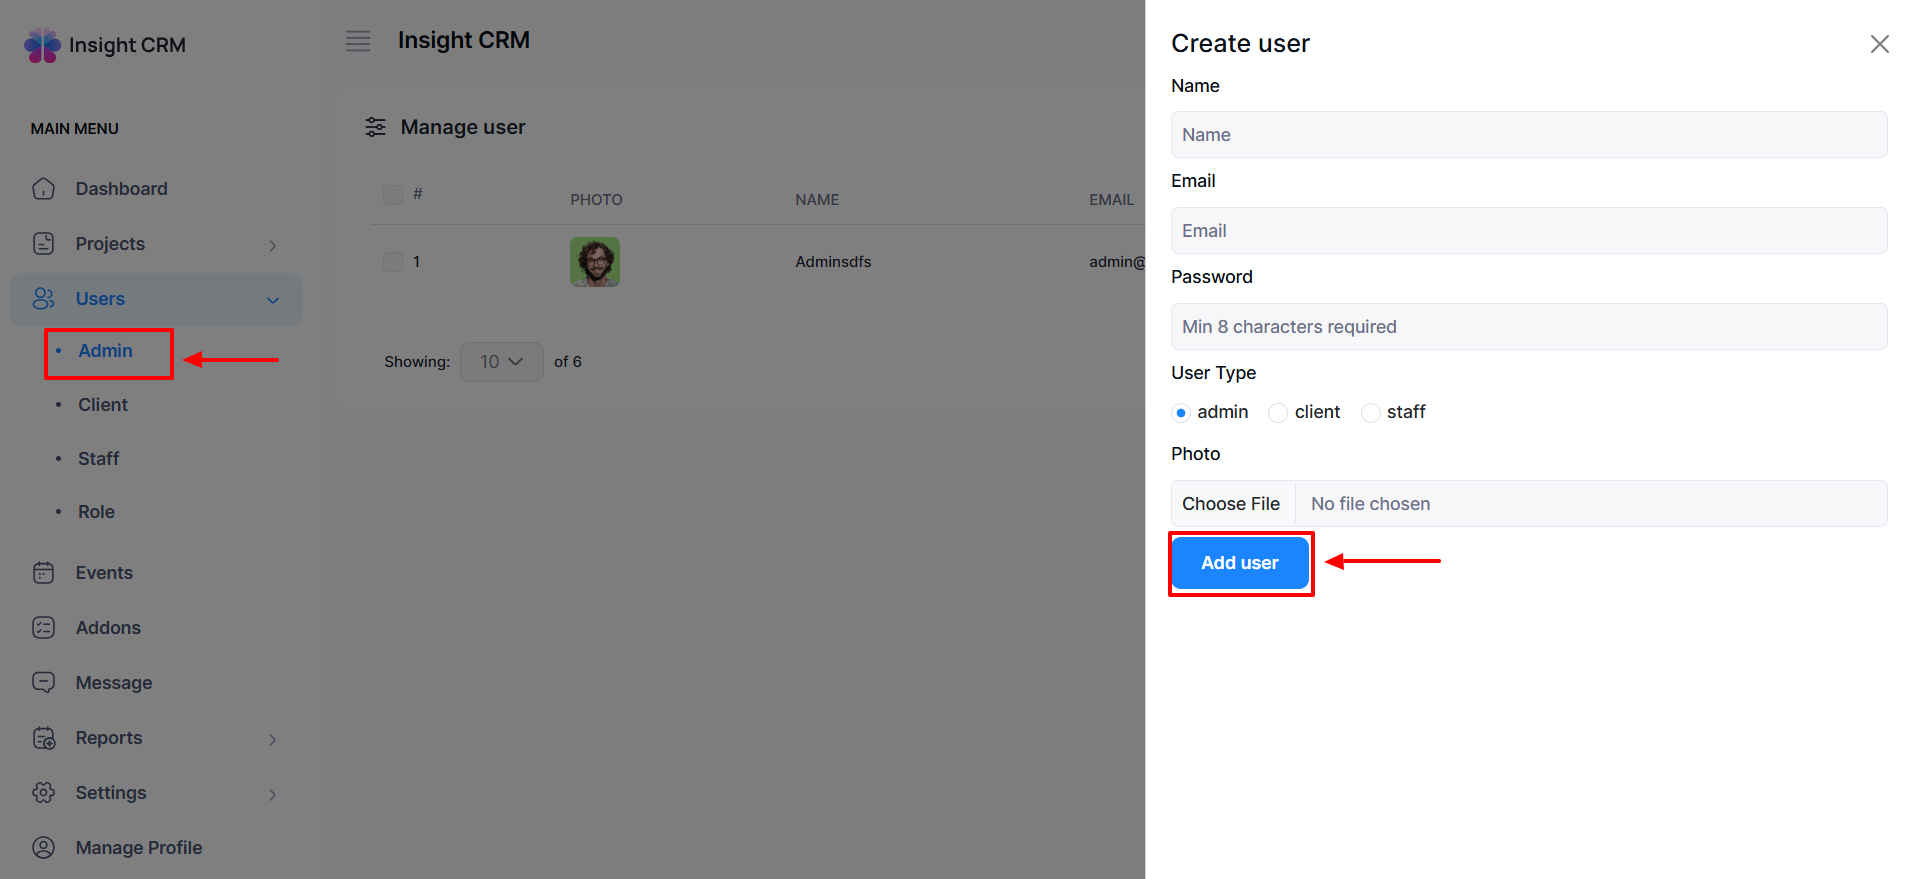
- Click the Add New button an entry form will open to enter the Admin information
- Fill in the following details:
-
- Name: Enter the Name in the Name field.
- Email: Provide email information in the Email field.
- Password: Type the decided password in the Password field.
- User Type: Click the Radio button to select the user type as desired.
- Photo: Upload the desired photo by clicking the Drag & Drop or Browser button.
-
- Once all fields are completed, click the Add User button to apply the updates.
- Note: The same procedure will apply to Clint and the Staff.
How to Edit Admin
- Log in to the Admin and access the Dashboard from the Admin Panel.
- Navigate to Users from the left menu.
- Finally, click on Admin from the left menu a window will appear.
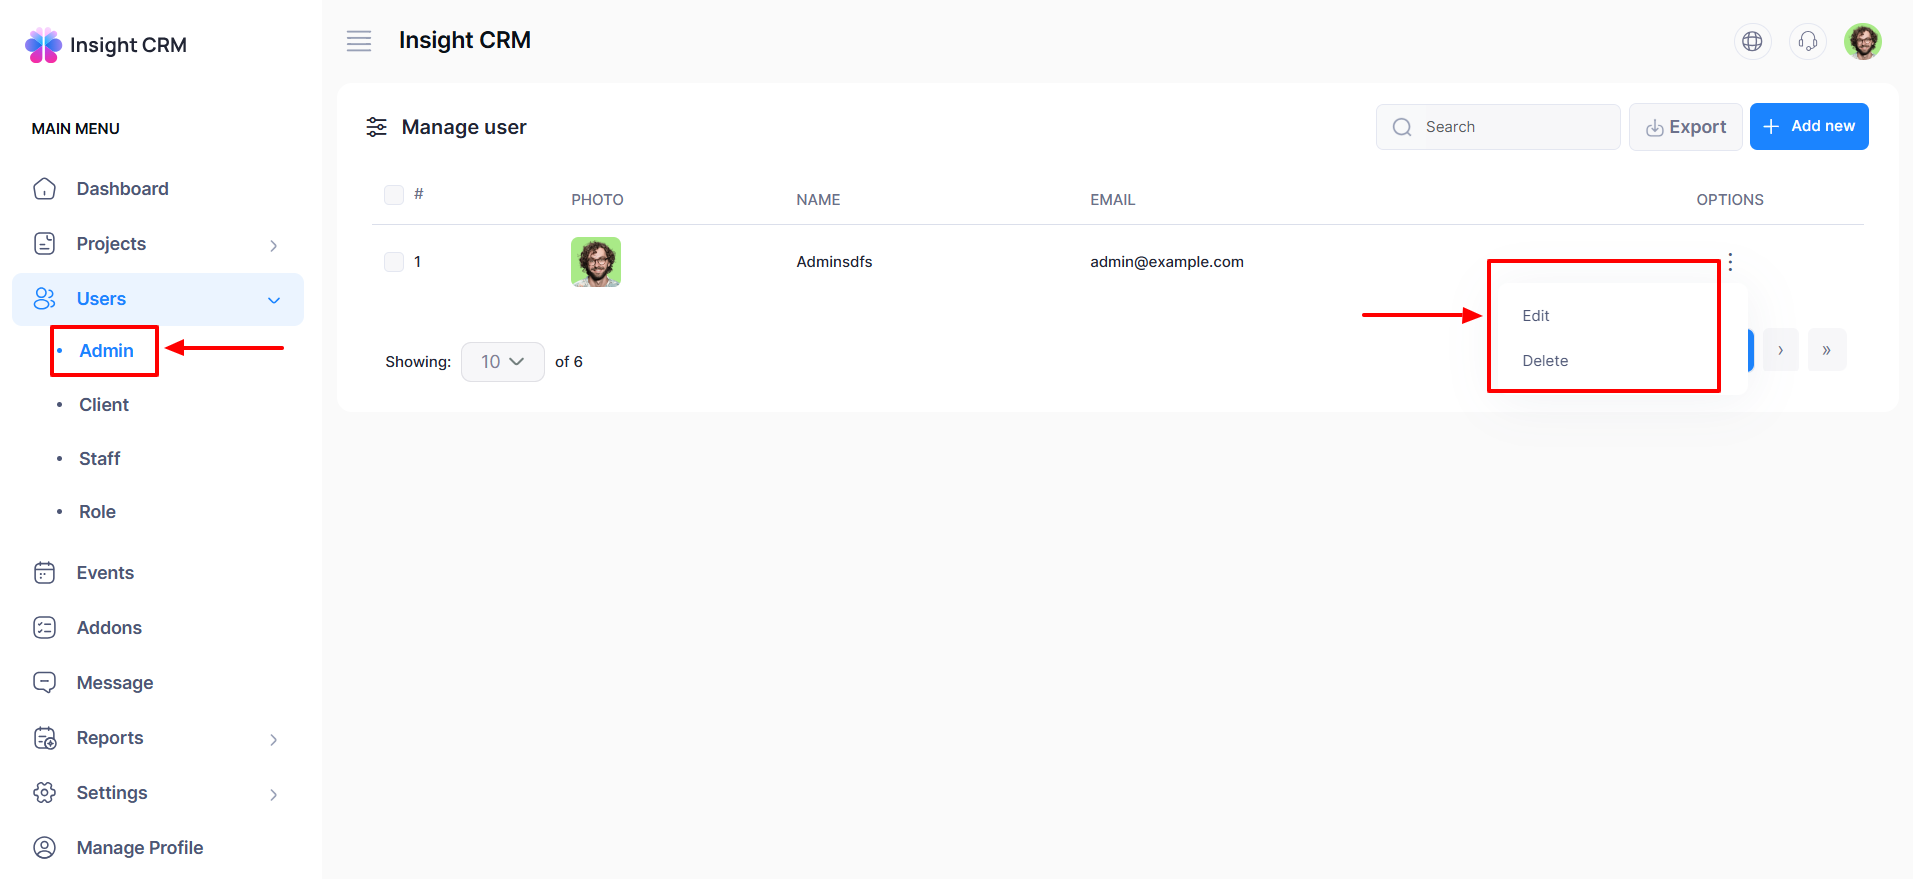
- Click the Options button (three dots) to open a menu with the options: Edit and Delete.
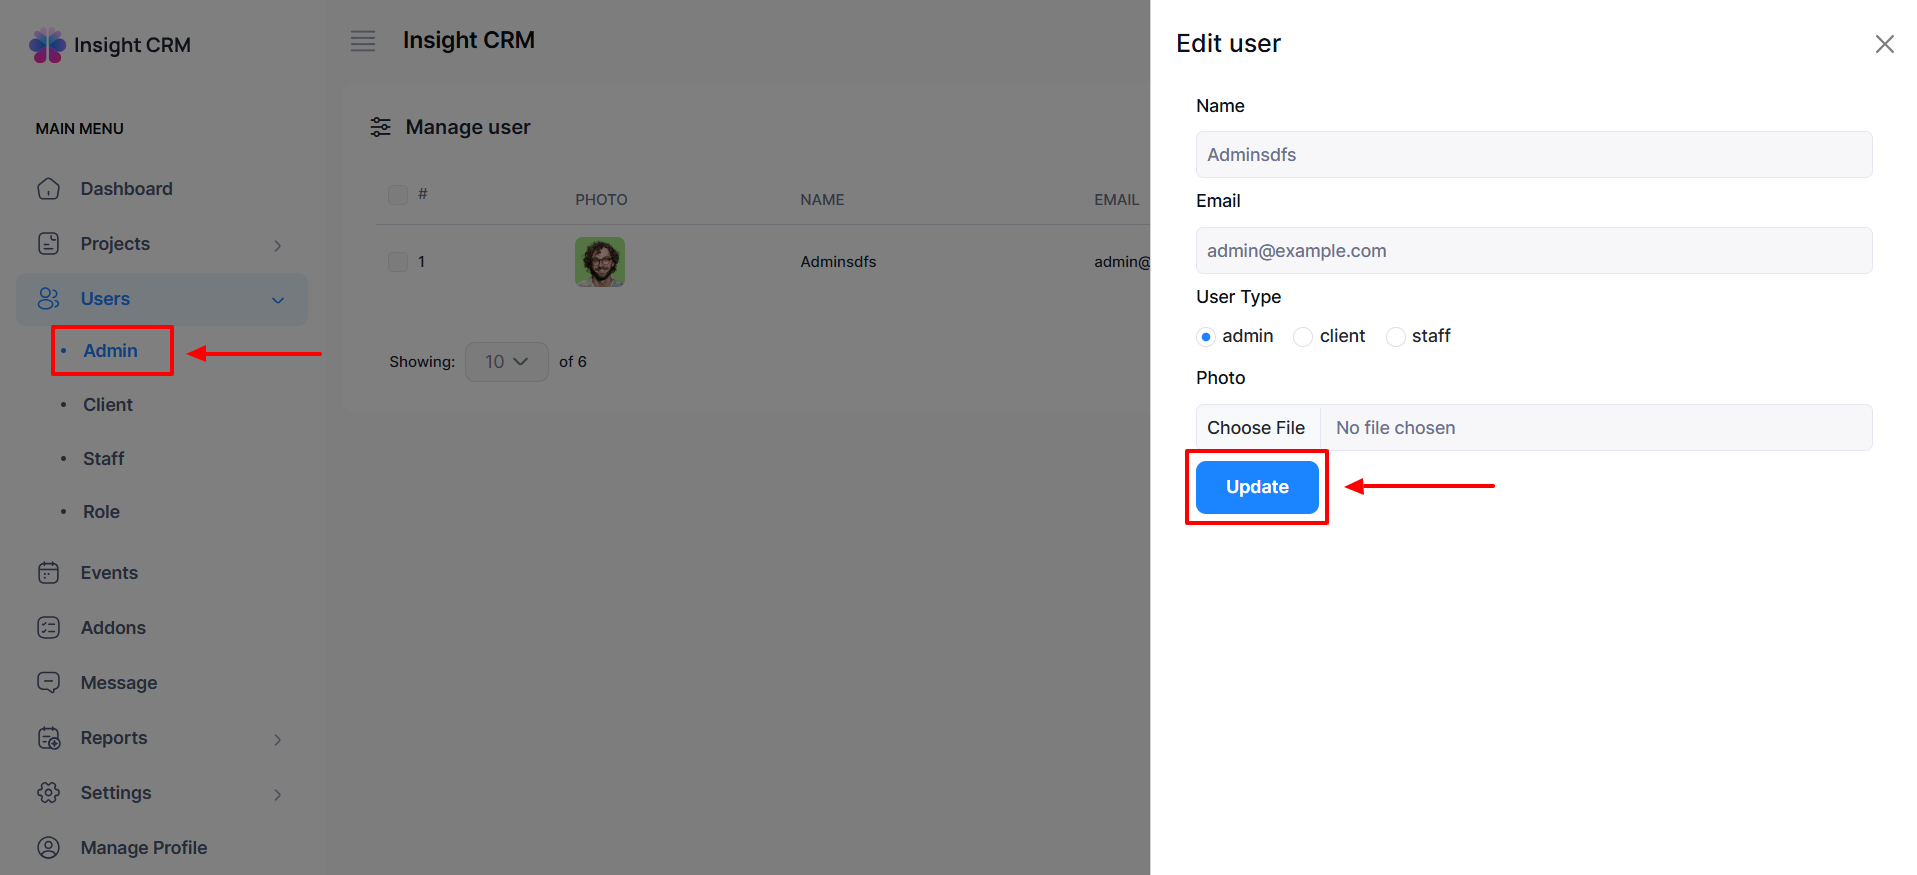
- Click the Edit button to open the entry form.
- Fill in the following details:
-
- Name: Enter the Name in the Name field.
- Email: Provide email information in the Email field.
- User Type: Click the Radio button to select the user type.
- Photo: Upload the desired photo by clicking the Drag & Drop or Browser button.
-
- Once all fields are completed, click the Update button to apply the updates.
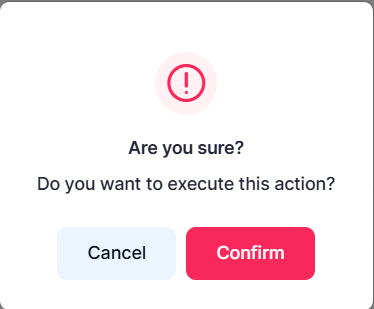
- If you click the Delete button to delete the desire, a new confirmation window will open.
- If you click Confirm, the item will be deleted permanently. Note: Never back it again.
- Note: The same procedure will apply to Client and Staff.
Was this article helpful to you?
How can we help?
Contact us and we will get back to you as soon as possible

