How to Install Atlas Laravel
Please follow the steps below to complete the installation process:
Upload the downloaded (Atlas Laravel.zip ) file from CodeCanyon to your server.
You can upload anywhere inside your public_html folder or any sub-folder you want. Just keep in mind the directory where you are.
Unzip the file.
Go to your preferred web browser and type the URL where you have the files.
Example: example.com/Atlas Laravel
Unzipped the file. For example - if you have a domain example.com unzipped the files inside the folder “Atlas Laravel” the URL will be example.com/atlas laravel.
After you have entered the URL on your browser will see the screen below.
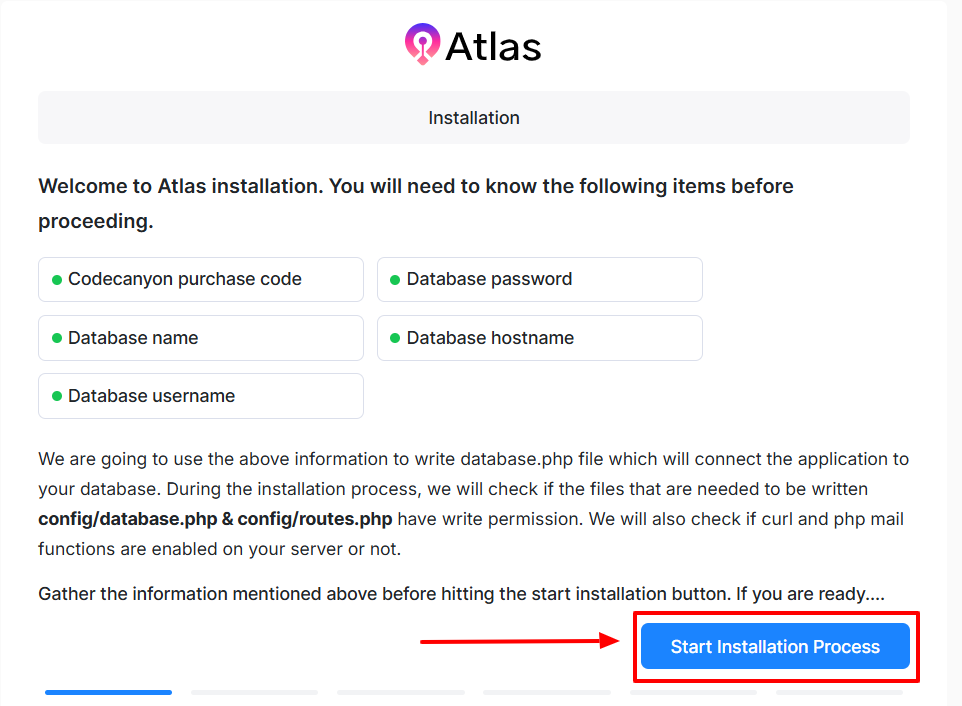
Figure 1. Atlas Laravel Start Installation Process
The first step is installation. Before starting, you will need to have the Codecanyon purchase code, the database name, username, password, and database host in the installation process. You can get the purchase code from your purchase information on CodeCanyon. For having the database information, you will need to create a new database on your server. You will also need to ensure that the files in /config/database.php and /config/web.php have written permission. You should also verify if your server has PHP CURL enabled. After that click the “Start Installation Process” button, you will see the screen below:
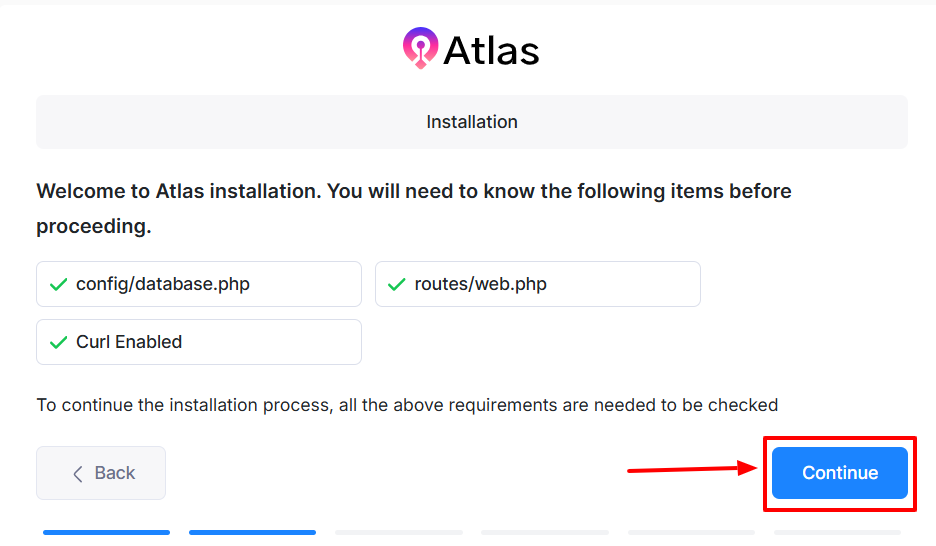
Figure 2. Atlas Laravel Curl Enabled
This screen checks if the required files have the write permission and curl is enabled or not. If these are not allowed, you will face issues in the installation process. So make sure that all three points on that screen have a green checkmark. If everything is fine you can click the “Continue” button will be presented with this screen below:
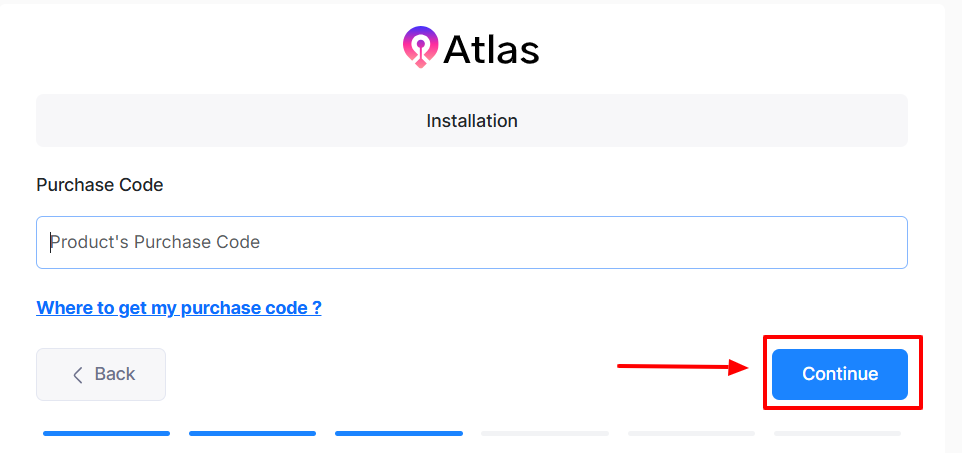
Figure 3. Atlas Laravel Installation purchase code
Here you will need to insert the purchase code that you have got from CodeCanyon and click the “Continue” button, which will lead you to the screen below:
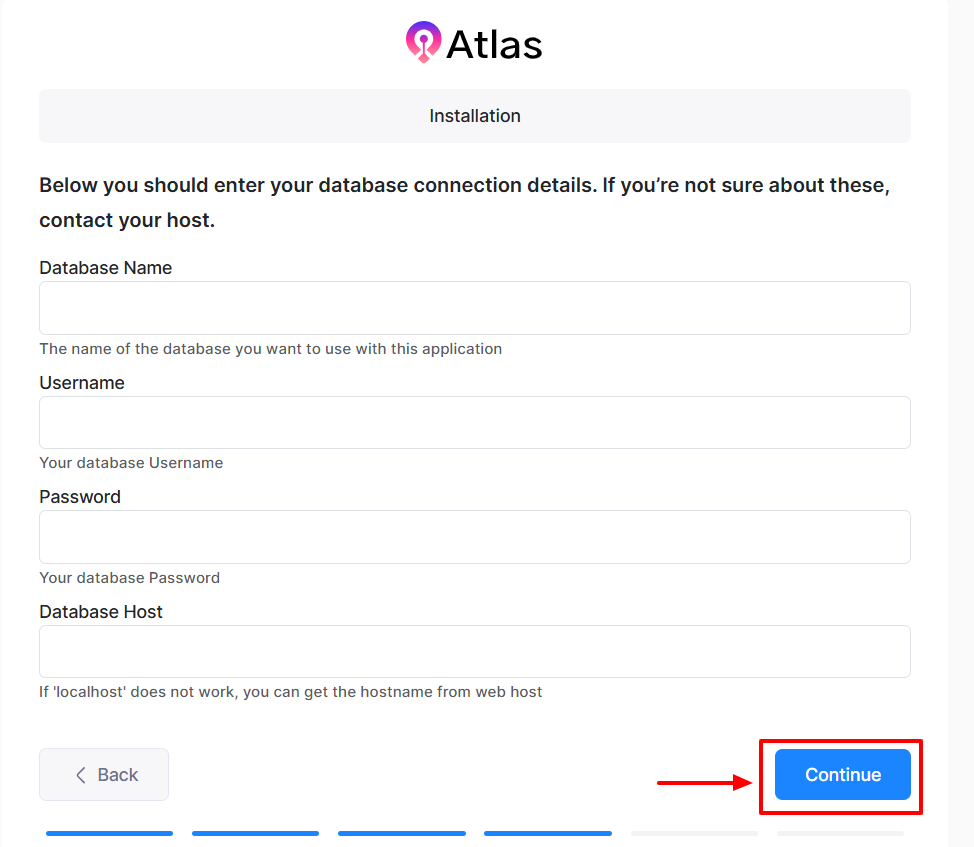
Figure 4. Atlas Laravel Database installation
Here you will need to insert your previously created database credentials correctly. The installer will check if the information is correct after you click the “Continue” button and if everything is fine, You will be directed to the page below:
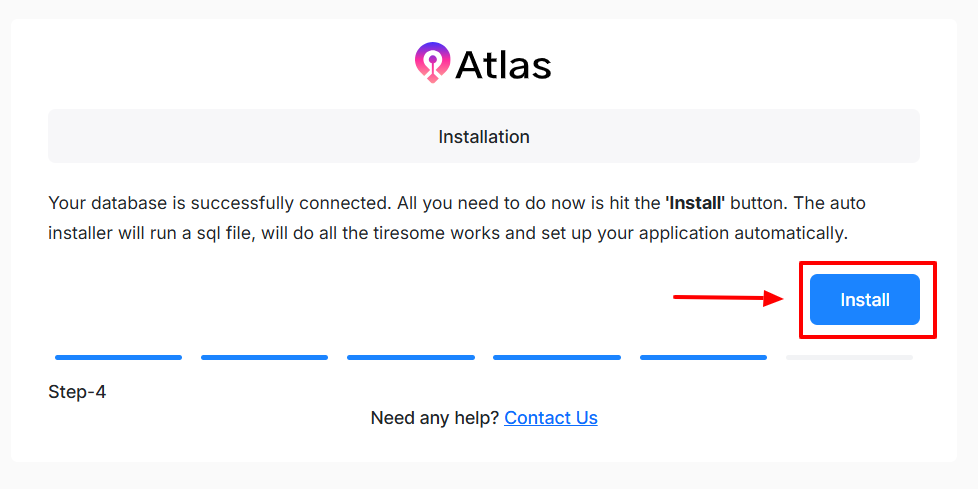
Figure 5. Atlas Laravel successfully installation
You have to click the Install button, automatically importing the application database to your created database. It takes a while, according to your server performance. Would you please wait while the import process is completed? After the installer has successfully imported the database, you will get the following page.

Figure 6. Atlas Laravel uploading data
Fill up the information required and click the “Set me up” button. This step will save your organization name (CRM name) and administrator login credentials, which you will need later to log into the application. Once completed, you will be directed to the next page, confirming the successful setup.

Figure 7. Atlas Laravel logging into the server
Now click the "Go to Admin Panel" button to complete the installation. You will be redirected to the admin panel login page, where you can log in using the administrator email and password you provided earlier.
Please ensure that you have followed all the installation steps correctly; otherwise, you may encounter issues running the application. For any assistance, refer to the support documentation or contact the Atlas Laravel Support Center.
Was this article helpful to you?
Contact us and we will get back to you as soon as possible

